
On the Daily
Brewing espresso is easily my favorite daily ritual. The first thing I do when I walk into the shop after putting my bag up is to run hot water through the group heads of the espresso machine and fill the grinder with coffee beans.
It’s pretty easy to get a bad shot of espresso, partially because there are so many brewing variables to coordinate. I’m not in search of ‘the perfect cup’ of coffee, but I am interested in brewing consistent espresso that my coffee clientele can count on tasting just as good as they remember it. These are the variables we consider when aiming for that consistently delicious ‘spro:
Water. Sediment, scale, and certain minerals in the water you’re using to brew can taint your espresso and cake on the espresso machine, resulting in cup after cup of bad coffee. In an effort to take good care of our lil two grouphead Rocket, we had a reverse osmosis water filtration system installed to ensure high water quality for consistent brewing. Immediately, we could taste new flavor notes in a roast we had been using for two years. Depending on your water supply and whether your brewing commercially or at home, this might be a good investment for you.
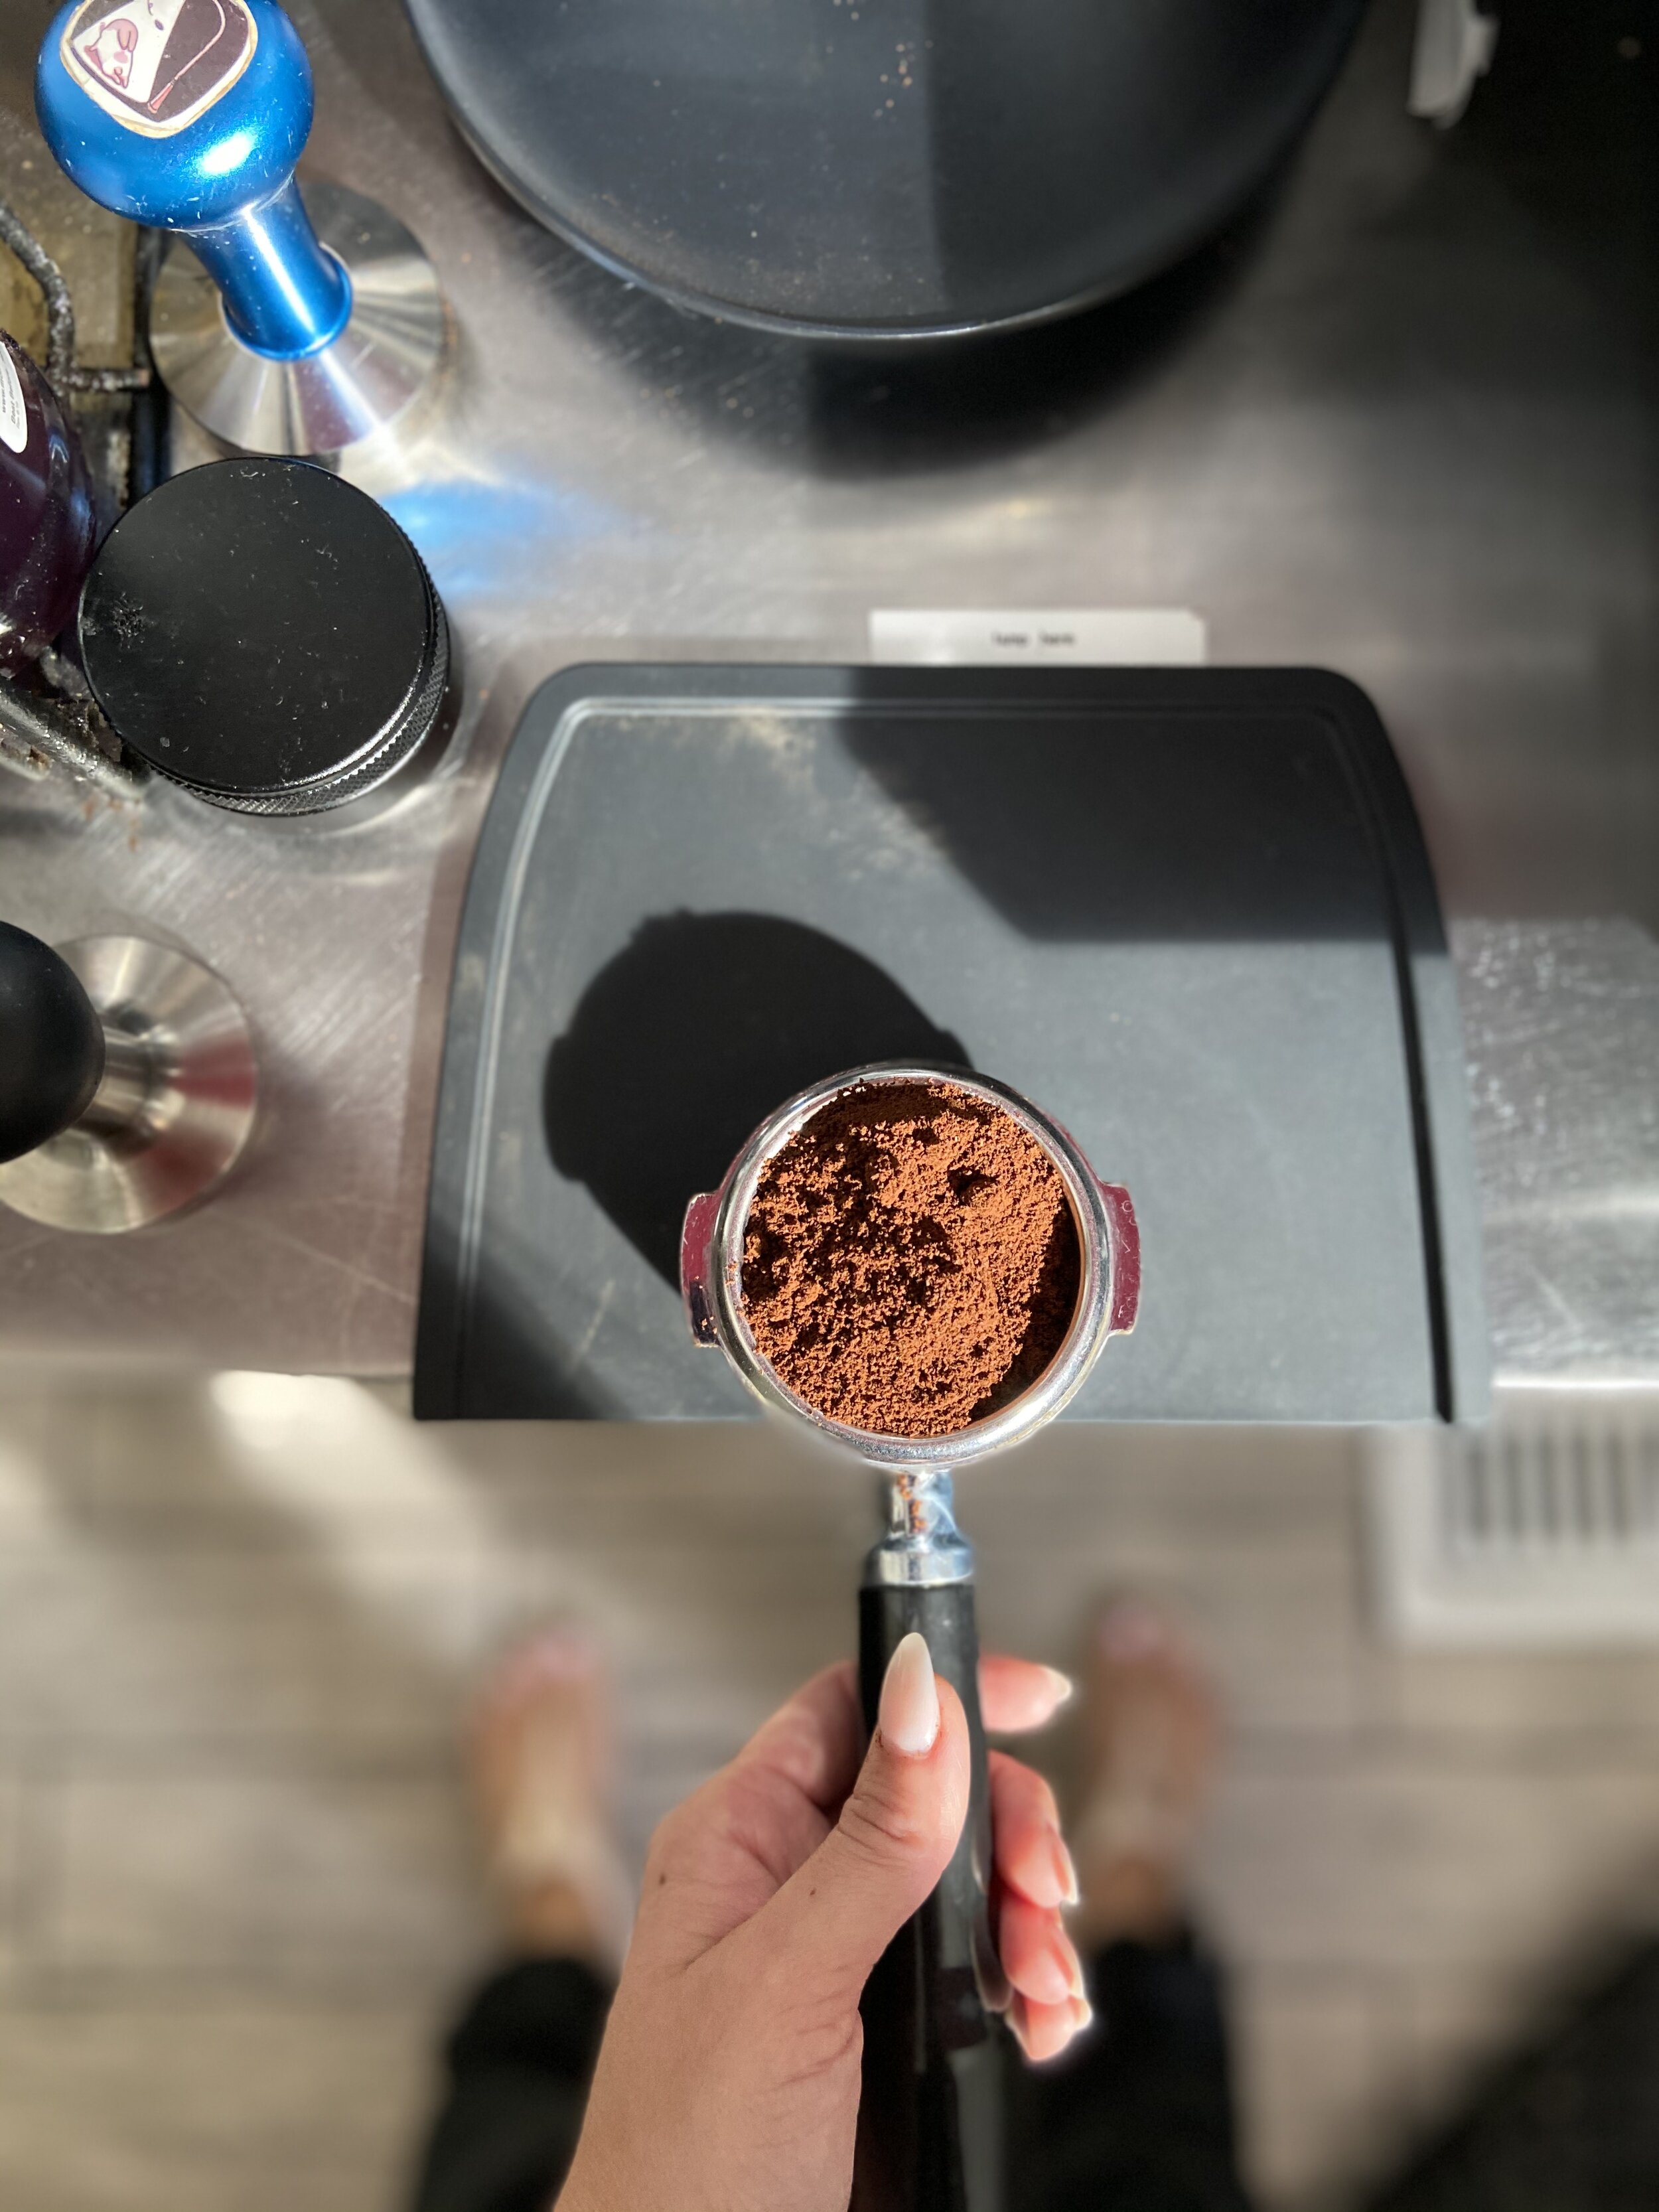
Grind. Espresso is finely ground coffee, relative to other brewing methods like cold brew, French press, automatic drip, or manual drip. Particles used to brew espresso are around the size of table salt. We can manipulate the grind for different results. It’s typical to adjust the grind several times throughout the day. We use a golden triangle of parameters in order to clue us in as to how we should adjust the grind. The three golden points are Dose (input), Yield (output), and Time (and runnin’ runnin’ and runnin’ runnin’.) You can often obtain these parameters by the folks roasting your beans (if they don’t volunteer the information, just ask :D) and then fine tune them to your own taste.
Dose. This refers to how much ground coffee you’re using for each shot (input); We use 19-19.3 grams for our espresso roast. If you’re seriously wanting to improve your shots, you will need a digital scale. A basic kitchen scale will work to start (this was us 3 years ago!) but you should upgrade as you grow in your craft. We currently use an Acacia scale, which is my best friend and most used tool in adjusting grind. The higher your dose of coffee, the more intense your espresso. More is not always better, however, and there is a fine line between a pleasant ‘roasty’ flavor and an overly bitter shot.
Yield. How much espresso is in your cup? The term double shot generally refers to two ounces of espresso which is standard as a base for most espresso drinks. For a more exact yield, we prefer to measure in grams. With our roast, we aim for a yield of 30-32 grams output, which is just a little shy of two fluid ounces. This is impossible to eyeball (I tried for two years) and another reason to invest in an accurate scale.
Time. The length of time it takes a shot to brew is your biggest indicator as to whether your espresso is ‘dialed in’ (delish) or needs some adjusting. If you’re shot is running too fast, you may need to adjust your grind finer or increase the dose. If it’s taking awhile, you might coarsen the grind or dose down in your portafilter. With 19g of coffee going in and 30 g coming out, we expect 22-24 seconds for brewing with the roast we use.
Temp. 195-205 degrees is ideal for preparing coffee. Our espresso machine offers limited control of temperature but it’s good to glance at your temperature gauge now and again to make sure you haven’t dipped below the green zone. Lower temperatures can bring out brightness (or, good acidity) from your coffee and higher temperatures give a ‘roasty’ flavor. More advanced machines allow for manual temperature control.
Tamp. A tamper or tamp is a tool we use for compacting ground coffee in order to restrict water flow, intermingling coffee and water to produce liquid GOLD! Go for 30-40 pound press. Your tamp should be firm and level. We recently added a leveler to our espresso tool kit. It looks and feels like a hockey puck and provides an initial distribution of grounds after your dose your coffee and before you tamp it. The leveler makes a world of a difference, especially as we use bottomless (or ‘naked’) portafilters, which can reveal an uneven tamp more than spouted portafilters. A leveler and an even tamp help to prevent channeling, which is when espresso spurts out every which way during your brew process.
Barista. An experienced, knowledgeable barista makes the best espresso, but a beginner can make delicious drinks too, simply by following procedures consistently and beginning to pay close attention to these variables.
Current Reading
It has been a humbling year to own a small business, and a great year for finishing books. Here is my current reading pile. Stay up, friends.
